

How To Make A True Mirror?
We are certain, like us, you too have been hearing a lot about these buzz words “True Mirror” and “Non-Reversing Mirror” of late? Aren’t you? and given that this trend keeps circling back every 6 months or so, its worth putting in some work and quickly learn how to make a true mirror all by yourself at home so even if you don’t want to install TikTok or Instagram on your phone, you can still enjoy the non-reversing effect of this miraculous mirror.
Better yet, you can even start selling this mirror once you get the fundamentals right, so let’s get right to the subject and learn How to Make a True Mirror.
We’ve listed 2 different methods below (easy & slightly advanced), so feel free to skip to the part that’s relevant to you by clicking on the Table of Contents below:
- Materials Needed
- Step 1: Prepare the mirrors
- Step 2: Measure and mark the angles
- Step 3: Set up the frame
- Step 4: Position the mirrors
- Step 5: Secure the mirrors
- Step 6: Mount the setup (if desired) & Test the True Mirror
- Important Points:
- Method 2 – How to Make a True Mirror
- Materials Needed
- Step 1: Prepare the board
- Step 2: Clean the Glass or Plexiglass
- Step 3: Apply Silvering Solution
- Step 4: Dry the Silvering Solution
- Step 5: Apply Mirror Adhesive
- Step 6: Attach the Glass
- Step 7: Dry the Mirror Adhesive
- Step 8: Smoothen the Edges and Trim Excess Portions
- Step 9: Test Your Newly Created True Mirror (Non-Reversing Mirror)
- Some Bonus Tips and Troubleshooting
Method 1 – How to Make a True Mirror
Materials Needed
- Two rectangular or square-shaped mirrors (of the same size and quality)
- A sturdy frame or support to hold the mirrors securely at a 90-degree angle
- Adhesive putty or strong double-sided tape
- A measuring tape or ruler
- A spirit level or bubble level
- Optional: Decorative materials for framing the mirrors
With these items at your disposal, you’ll be ready to tackle the mirror-making process and impress your friends and family with your DIY skills! Let’s dive in to the 6-step process on How to Make a True Mirror:
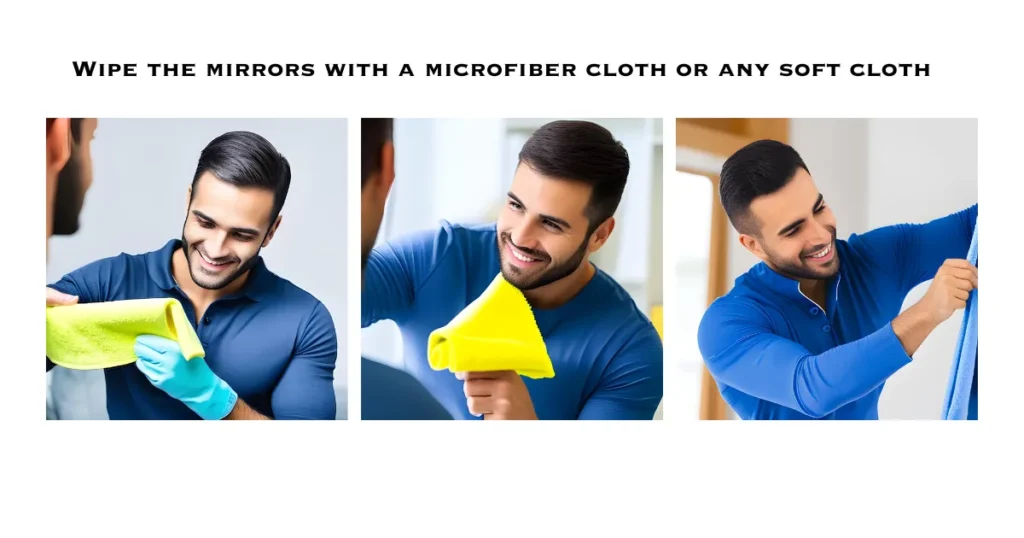
Step 1: Prepare the mirrors
Wipe both the mirrors with a microfiber cloth or really any soft cloth to ensure they are clean and free from any dust or smudges.
NOTE: THE IMAGES BELOW ARE FOR REPRESENTATIONAL PURPOSES ONLY AND ARE NOT REAL
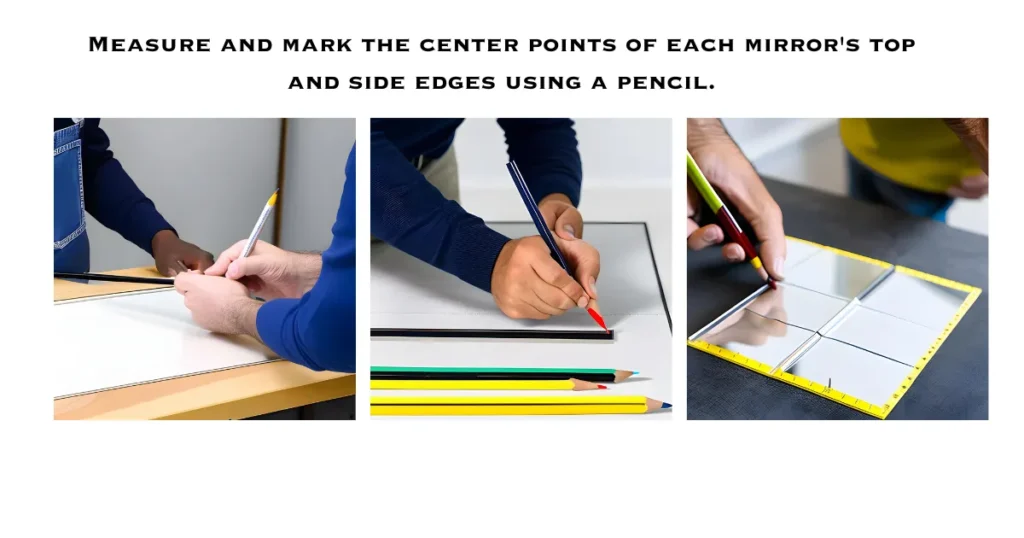
Step 2: Measure and mark the angles
Decide on the size of your mirror setup. The bigger the mirrors, the better the effect. Measure and mark the center points of each mirror’s top and side edges using a pencil.
Step 3: Set up the frame
If you’re using a cardboard or wooden frame, assemble it according to the size of the mirrors you have. This frame will help you position and stabilize the mirrors at the correct angle. It should be large enough to fit both mirrors and sturdy enough to support their weight.

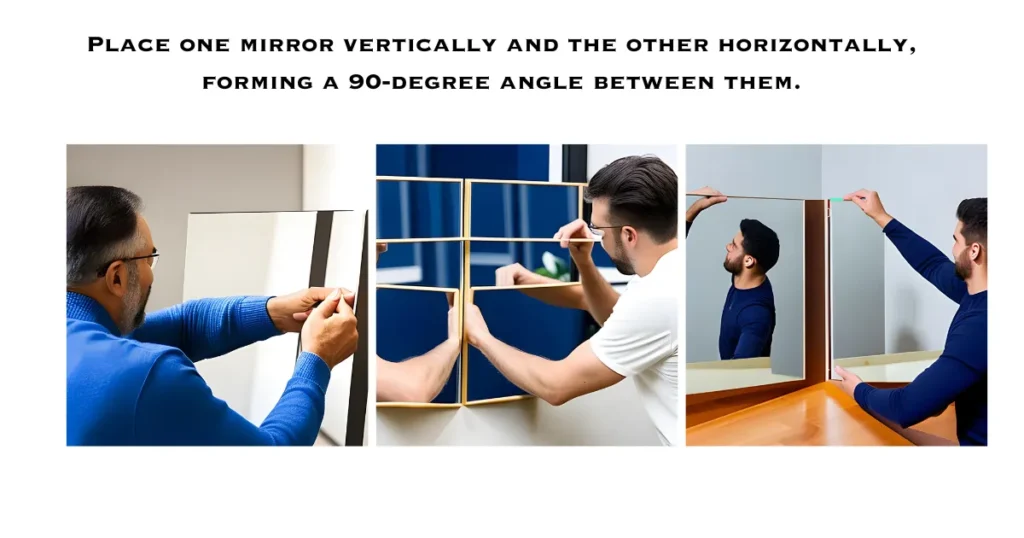
Step 4: Position the mirrors
Place one mirror vertically and the other horizontally, forming a 90-degree angle between them. Ensure that the center points you marked on each mirror align perfectly at the point where they meet.
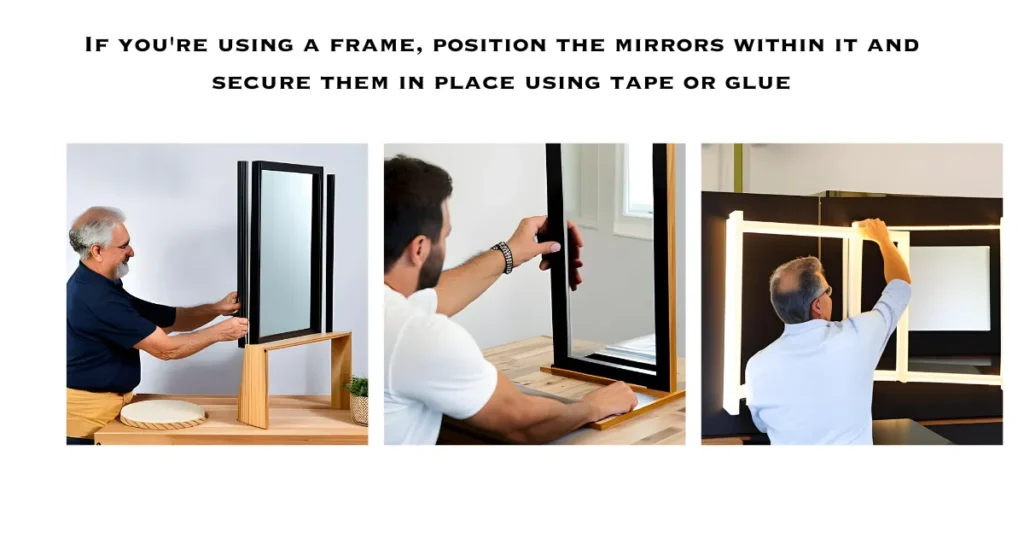
Step 5: Secure the mirrors
If you’re using a frame, position the mirrors within it and secure them in place using tape or glue. If not using a frame, you can use mounting hardware to fix the mirrors together at the correct angle. Ensure they are stable and won’t move or shift.
Step 6: Mount the setup (if desired) & Test the True Mirror
If you plan to mount the mirror setup on a wall or another surface, use appropriate mounting hardware and follow the manufacturer’s instructions for a secure installation. Use a level to make sure the mirrors are perfectly aligned.
And finally, after all this hard work, it’s time for you to test your creation, YOUR TRUE MIRROR that was created with MY TRUE MIRROR’s steps! Isn’t that awesome? Now, stand in front of the two mirrors and look at your reflection. You should see an infinite reflection of yourself extending into both mirrors. Adjust the angle or positioning if needed to get the best effect.
Important Points:
- For the best effect, use high-quality mirrors with a silvered backing. Cheaper mirrors may not provide as clear or accurate reflections.
- Be careful when handling mirrors, as they can be fragile and sharp at the edges. Wear gloves if necessary, and keep the setup away from children and pets.
- If you’re mounting the mirrors on a wall, ensure the wall is strong enough to support their weight.
Method 2 – How to Make a True Mirror
Materials Needed
Note: This process involves usage of chemicals and solutions, so seeking professional assistance while handling the materials, chemicals or solution is highly advisable.
- Large piece of clear glass or plexiglass
- Mirror silvering solution (can be purchased online or at some hardware stores)
- Paintbrush or Foam Roller
- Mirror adhesive
- Plywood or particleboard for the base
- Saw for cutting the base to size
- Paint or spray paint for the base (optional)
- Gloves, eye protection, and dust mask
- Clean workspace
- Light source
Step 1: Prepare the board
Cut the plywood or particleboard to the same size as the piece of glass or plexiglass that you will be using for the mirror. Sand any rough edges and paint or spray paint the board if desired. Let it dry completely before moving onto the next step.
Step 2: Clean the Glass or Plexiglass
Clean the piece of glass or plexiglass thoroughly using a glass cleaner and a lint-free cloth. Make sure it is completely dry before proceeding.
Step 3: Apply Silvering Solution
In a well-ventilated area or spray booth, apply a coat of mirror silvering solution to the back of the glass or plexiglass using a paintbrush or foam roller. Be sure to wear gloves, eye protection, and a dust mask for safety. Follow the manufacturer’s instructions for the specific silvering solution you are using.
Step 4: Dry the Silvering Solution
Allow the silvering solution to dry completely. This may take anywhere from a few hours to overnight, depending on the product and the environmental conditions, so be sure to dry them in a safe place, away from kids or elderly.
Step 5: Apply Mirror Adhesive
Once the silvering solution is dry, apply a coat of mirror adhesive to the back of the silvered glass or plexiglass using a clean paintbrush or foam roller.
Step 6: Attach the Glass
Carefully place the silvered glass or plexiglass onto the prepared plywood or particleboard base, making sure it is centered and aligned. Apply pressure evenly to ensure a secure bond.
Step 7: Dry the Mirror Adhesive
Allow the mirror adhesive to dry according to the manufacturer’s instructions. This may take anywhere from a few hours to overnight.
Step 8: Smoothen the Edges and Trim Excess Portions
Once the adhesive is dry, use a saw to trim any excess plywood or particleboard from around the edges of the mirror. Sand any rough edges if necessary.
Step 9: Test Your Newly Created True Mirror (Non-Reversing Mirror)
Place the mirror in a clean, well-lit area to check for any imperfections or distortions.
Some Bonus Tips and Troubleshooting
- If you’re having trouble cutting your glass or plexiglass sheet, try scoring it multiple times before snapping it. This will help prevent it from cracking.
- Be sure to follow the instructions carefully for both the mirror silvering solution and the mirror adhesive. Not doing so can result in an uneven or blurry mirror.
- If you notice any spots or streaks on the mirror, try using a microfiber cloth and a little bit of rubbing alcohol to clean it.
- Adjust the position of the mirror or make any necessary repairs as needed.
- Now that you know how to make a true mirror, go ahead and DIY with confidence! With a little bit of patience and a lot of creativity, you’ll have a unique and functional mirror that’ll be the envy of all your friends 🙂
Before creating your own True Mirror, would you like to quickly peek at your “True Reflection” with the help of our online True Mirror that we’ve created just for our user community so they can use it anytime, right from their mobile device’s camera without installing any additional True Mirror App or tool? Check it out here!